Last updated November 21, 2026
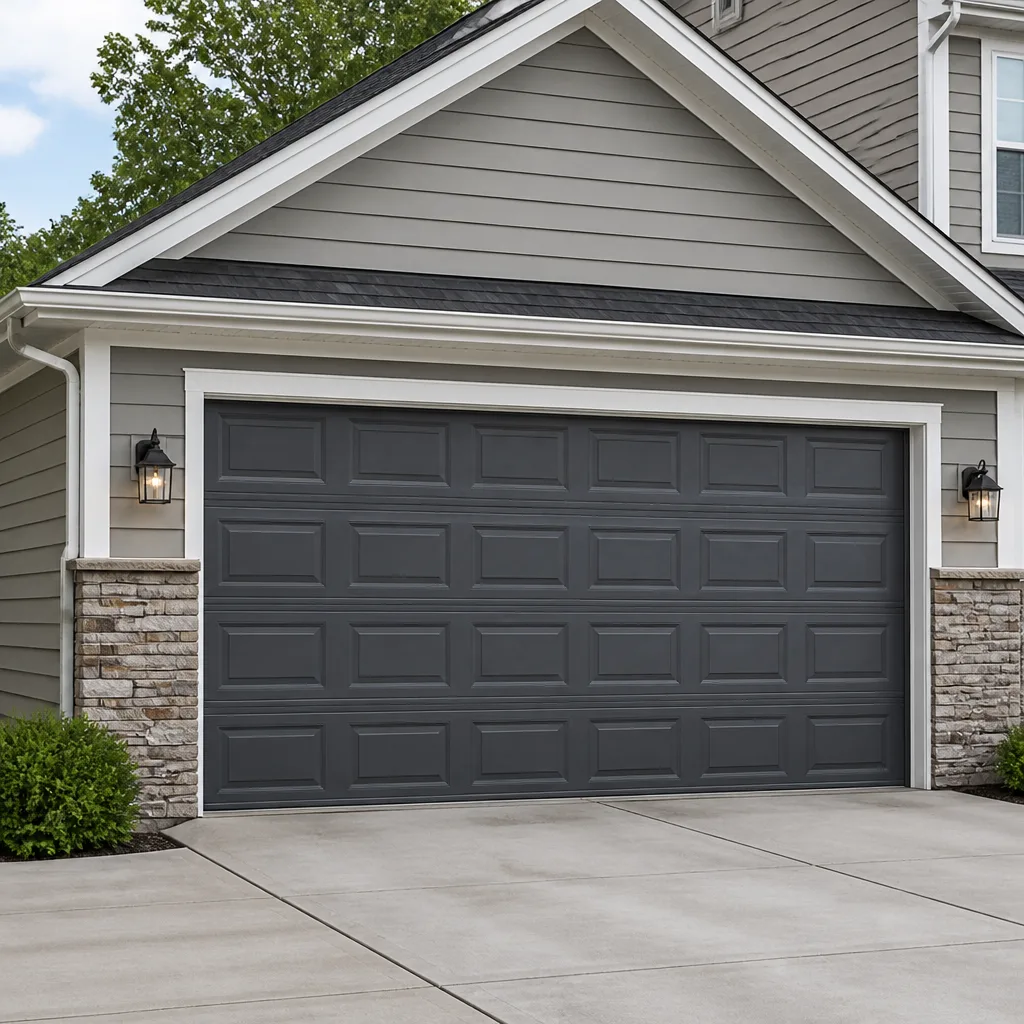 Raised-panel steel
 Carriage house
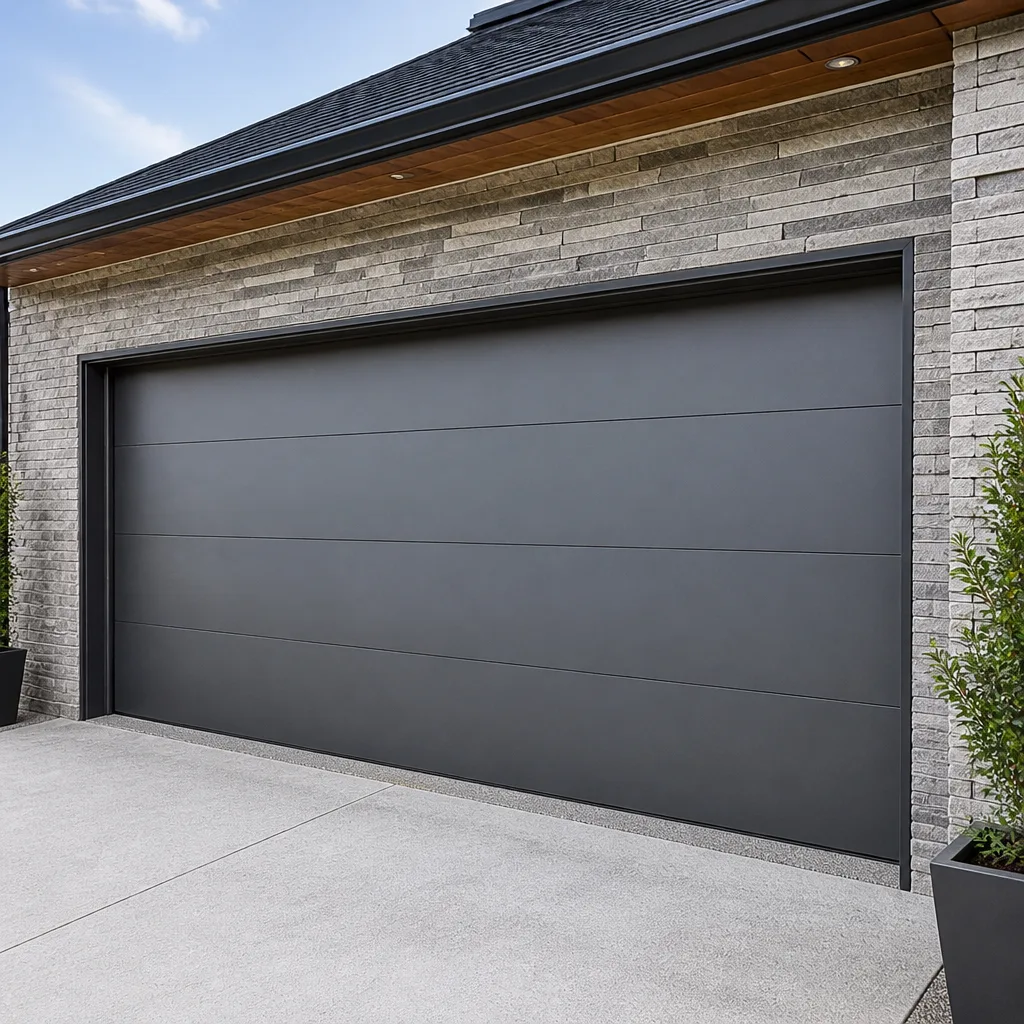 Modern flush
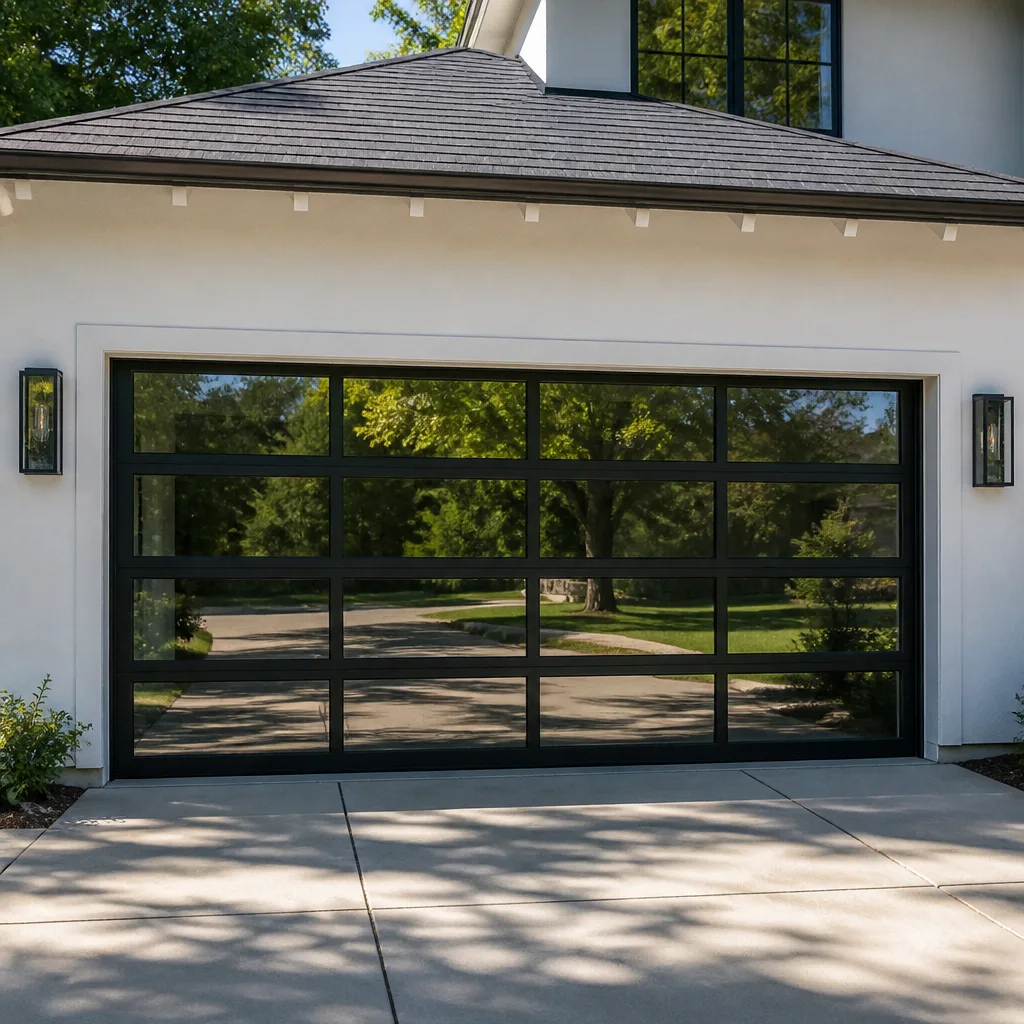 Full-view glass
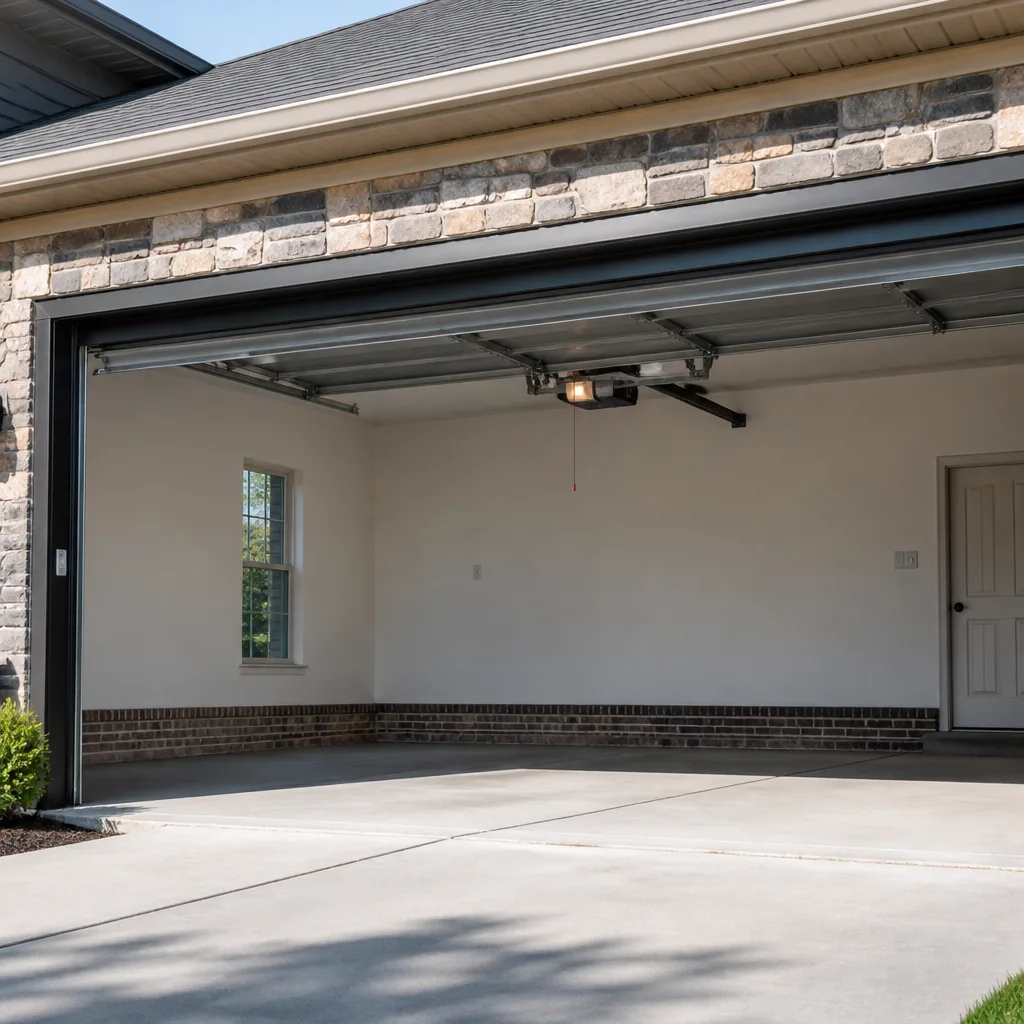 LiftMaster openers
 Chamberlain openers
Full 25-point door and opener safety check with every visit - springs, cables, rollers, tracks, and your LiftMaster or Chamberlain opener included
You get a price before we start. It does not change when the pro arrives.
Get your free estimateGarage Door Repair Maintenance Checklist for St. Louis Hills Homeowners
A torsion spring doesn’t snap without warning. It tells you for weeks: a dull clunk when the door starts up, a door that lifts a few inches slower than it used to, a gap you can see at the top when it’s closed. Most St. Louis Hills homeowners who end up with a broken spring say they didn’t notice anything. They noticed. They just didn’t know what they were looking at. This checklist changes that. We’ll walk through what to inspect monthly, quarterly, and yearly, which products go where, and what an early warning actually looks, sounds, and feels like. Most of it you can do yourself in under an hour.
Quick Answer
A proper garage door maintenance routine has three parts: monthly checks you can do in ten minutes (visual inspection, balance test, listening for new sounds), quarterly tasks like lubrication with the right product in the right spot, and annual tasks like weather seal inspection ahead of another St. Louis Hills winter. The goal is to catch wear months before it becomes a breakdown. Anything involving springs, cables, or the torsion assembly is off-limits for DIY work and belongs with a trained technician.
Styles & brands we work with
- Raised-panel steel
- Carriage house
- Modern flush
- Full-view glass
- LiftMaster openers
- Chamberlain openers
Table of Contents
- Monthly Checks You Can Do in Ten Minutes
- How to Run a Balance Test and Read the Result
- Lubrication: Which Product Goes Where and Why
- Reading Spring Wear and Cable Fraying Before They Fail
- Rollers, Hinges, and the Hardware You Can Inspect Safely
- Weather Seals and St. Louis Hills Winters
- The Annual Inspection: What to Check Before Winter
- What Voids a Warranty, and What Doesn’t
Monthly Checks You Can Do in Ten Minutes
Put the check on the same day each month and it becomes automatic. The point is comparison: you’re looking for change from last month, not perfection. A door that’s always been a little loud is fine; a door that got louder since last month is telling you something.
Here’s what to do, in order:
- Listen first. Stand inside the garage and run the door up and down once without doing anything else. Note the sound. Grinding, squealing, popping, or a rhythmic tick each time a roller passes a track joint are all specific signals worth watching.
- Look at the door from outside. Stand on the driveway and check that the door sits level and square in the opening. One side lower than the other usually points to a cable or spring tension issue.
- Check the bottom seal. Look for light coming under the door when it’s fully closed. A visible gap along the floor means the seal has compressed or the door is out of adjustment.
- Test the safety reverse. Place a 2×4 flat on the floor in the door’s path and run the door down. It should reverse on contact. If it doesn’t, the opener’s force settings need adjustment or a technician visit.
- Check the photo-eye alignment. The small lights on the sensors at each side of the opening should be steady, not blinking. Blinking means misalignment or an obstruction.
- Look at the springs. A visible gap in the coil on a torsion spring, or a stretched section on an extension spring, means the spring is already failing.
Write down anything that changed. That note is what a technician will want to see if the problem grows. In St. Louis Hills, our freeze-thaw swings mean the bottom seal and track alignment take more abuse than nearly anything else on the door.
How to Run a Balance Test and Read the Result
Most guides tell you to lift the door halfway and let go. That’s the beginning of the test, not the whole thing. What matters is the rate the door drops and whether it drops evenly. Those two details tell you whether the problem is spring tension, a roller binding in the track, or a cable that’s slipped.
Before you start: disconnect the opener. Find the release cord hanging from the opener rail and pull it, then make sure the door is in manual mode. Never run a balance test with the opener engaged. Never put your hand anywhere near a spring or cable. Those two components carry the entire door weight under tension, and a snap can cause serious injury.
Here’s how to read the result:
- Door holds steady at the halfway point: springs are balanced. Nothing to do.
- Door drops slowly and evenly: slight tension loss, usually fine. Recheck in a month.
- Door drops quickly: spring tension is low. The door is harder on the opener, and you’ll see the opener strain. Book a technician to check the spring tension.
- Door drops fast and hard: significant tension loss or a broken spring. Stop operating the door and call for a repair.
- Door drops crooked: one side is losing tension faster than the other, or a cable is slack. This is a call-a-professional result.
- Door won’t stay down at all: tension is dangerously wrong. Don’t force it.
Reconnect the opener after the test by running it once and letting the carriage re-engage. If the door felt heavier than usual during the lift, that’s your warning sign: the opener will wear out faster pushing a door the springs should be carrying.
Lubrication: Which Product Goes Where and Why
Two products do most of the work: white lithium grease and silicone spray. They are not interchangeable, and putting the wrong one in the wrong spot is the most common reason a door gets louder after “maintenance day.”
White lithium grease goes on metal-to-metal contact points that carry load. It stays put, resists washout, and cushions. Use it on:
- Hinges, at the pivot points (a small dab on each pin)
- Metal rollers, at the bearing and stem
- The opener rail where the carriage runs (a thin line, not a glob)
- The opener drive gear and chain, if you have a chain drive
Silicone spray goes on surfaces that slide or seal, not on load points. It’s dry, doesn’t attract dust, and won’t gum up with grit. Use it on:
- Weather seals and the bottom rubber gasket (a light pass, wiped in)
- The torsion spring itself (a light film, never a thick coat)
- Nylon rollers, which shouldn’t get grease at all
- Track surfaces where rollers ride, only if a roller is dragging
What not to use: WD-40 as a lubricant (it’s a solvent, and it washes out the grease you already have), motor oil, cooking spray, or anything with grit suspended in it. A door that squeals after a WD-40 pass is squealing worse than before, because the product stripped the original grease.
St. Louis Hills garages see enough humidity swings between seasons that lithium grease applied in spring is usually still doing its job by fall. Wipe away excess with a rag. A little goes further than you’d think. The right part, the right fix: same logic applies to lubricant.
Reading Spring Wear and Cable Fraying Before They Fail
Springs are the most dangerous component in your garage door system, and cables are a close second. A torsion spring stores enough energy to lift the door several times over. When it lets go, it lets go loud and fast, and it can seriously injure anyone in the area. You should never adjust, remove, or try to add tension to a spring yourself. What you can do is look.
Here are the early warning signs to look for, monthly:
- Visible gap in a torsion spring coil. A coil that has separated from its neighbors means the spring is already weakening. A clean diagonal break means it’s gone.
- Rust spots, particularly on the bottom coils. Rust concentrates at the point of highest stress. Rust on the spring is a sign of age, not necessarily failure, but it should be checked.
- Stretch on an extension spring. Extension springs should sit tight. A stretched section or a spring that’s noticeably longer than it used to be is on its way out.
- Bent, kinked, or frayed cables. Run your eyes along each cable from the drum to the bottom bracket. Any frayed strand means the cable needs to be replaced. Do not run your hand along it. Frayed strands cut.
- Sagging cables at the drum. A cable that has come off the drum and is loose is a safety issue, not a maintenance item. Stop using the door.
- Uneven door travel. If one side lifts before the other during the balance test, a cable is likely slack or one spring has lost tension.
Extension springs on older doors should also have safety cables running through them. If yours don’t, that’s worth addressing with a technician. A broken extension spring without a safety cable snaps across the garage. If you notice any of the above on a Clopay or Amarr door, book a diagnostic rather than guessing: springs are a dedicated service for a reason.
Rollers, Hinges, and the Hardware You Can Inspect Safely
Rollers and hinges are the parts homeowners can genuinely maintain on their own. They don’t carry the door under tension, so inspecting and cleaning them is safe as long as the door is in manual mode and the opener is disconnected.
What to check monthly:
- Look at each roller. A good steel roller has a firm, round wheel and no flat spots. A good nylon roller is smooth with no chipping or cracks. Rollers that wobble on their stem or are worn unevenly need replacing.
- Check the track for dents, kinks, or loose brackets. A bent track is usually the cause of a noisy door or uneven travel. Note where it’s bent before calling anyone.
- Test each hinge for wobble. A hinge that moves when you nudge it with a screwdriver is loose. Snug it with the correct screwdriver, not a drill, which strips the holes.
- Look at the bracket bolts and lag screws holding the tracks to the wall and ceiling. They can loosen over years, especially on older St. Louis Hills homes where the garage framing has had time to dry out. Firm them up, don’t over-tighten.
- Check the opener belt or chain tension. The chain should have about half an inch of slack at mid-run. A belt should be snug with a little give. Too tight strains the opener; too loose slips the carriage.
Quarterly, clean the tracks with a dry cloth and mild soap, then wipe down with silicone spray. Don’t use grease in the tracks; it traps dust and grit and slows the rollers down. In a Wayne Dalton or Craftsman door, worn nylon rollers are one of the most common sources of a loud door that’s still functioning.
Weather Seals and St. Louis Hills Winters
St. Louis Hills winters are the hardest part of the year for garage door seals. Repeated freeze-thaw cycles at the bottom of the door harden and crack the rubber, and once the seal loses its flexibility it stops keeping out cold air, water, and the small pests that look for a way into a warmer space.
Two different failures look similar but need different responses:
- Cracking failure: the rubber has dried out and split. You’ll see fine cracks running along the seal, or chunks missing at the ends. The seal needs replacing. This is a home-maintenance task most homeowners can do with the right strip and a sharp utility knife.
- Compression failure: the rubber is intact but has flattened permanently. The seal no longer touches the floor, and you can see light underneath the door when it’s closed. This is a compression set: the seal has taken a permanent shape and won’t spring back. The strip needs replacing, and the door’s bottom position may also need adjustment.
The vertical seals on the sides of the door frame are just as important. Look for a gap between the seal and the door edge. If air is moving through, water will follow. Before the first hard freeze of the year, run your hand along both vertical seals and along the bottom of the door. Feel for cold air. If you feel it, replace the seal or call for an adjustment.
Seals also fail from ice. If the door has been frozen to the floor overnight, forcing it up tears the bottom rubber. When that happens, a light silicone pass on the seal before winter helps, and running the door a few times before the first ice of the year shows you where it binds.
The Annual Inspection: What to Check Before Winter
Once a year, ideally in early fall before the first cold snap, do a deeper pass on the whole door system. An hour here usually saves a mid-January repair. Here’s the list:
- Full balance test again, this time with a helper to watch the springs while you move the door by hand. Note any change in tension since last year.
- Full lubrication pass, product by product, using the grease and silicone guide above. Do it on a mild day so the grease doesn’t set before you wipe it in.
- Weather seal replacement for any cracked bottom or side seals. Pre-winter is the deadline.
- Opener force and travel limits. Re-test the safety reverse, then confirm the door opens fully without hitting the opener’s limit. Note any change from last year.
- Battery check on the opener remote and keypad. A dead battery reads as a broken opener, and it’s the easiest cause to eliminate.
- Paint and finish check on the door. Wood and steel doors both benefit from a look-over. A peeling or chipped finish invites rust, which pulls the eye off the hardware. If you’re considering a replacement rather than a paint job, our garage door installation covers what a measured replacement involves.
- Hire a trained technician for the spring and cable inspection every other year, since those are the parts you should never touch. The rest of the annual list is genuinely homeowner-safe.
If any single item on this list has flipped from last year’s result, that’s your priority. One changed number is a signal. Two changed numbers in the same year usually point to a system issue, which is worth our garage door repair as a diagnostic rather than a guess. The same discipline applies to the opener side of the system: a technician can rule out a drive problem with our garage door opener repair in a single visit.
What Voids a Warranty, and What Doesn’t
Manufacturer warranties on garage doors and openers vary, but the same themes show up across the major brands. Knowing which tasks belong in homeowner hands and which don’t protects you from a claim that gets denied because of a repair attempt the warranty doesn’t cover.
Tasks that generally void a warranty if done wrong:
- Adjusting or removing torsion spring tension without manufacturer-approved tools and training
- Cutting or shortening cables, or replacing cables with non-spec parts
- Installing aftermarket rollers or hinges that don’t match the door’s rated specification
- Modifying the opener’s force or travel settings beyond the manufacturer’s published range to compensate for a mechanical issue
- Drilling into the door’s structural rails or stiles for a security device or aftermarket reinforcement
- Using grease in the door tracks or on nylon rollers, which generally isn’t a warranty item in itself but can void a claim if the manufacturer attributes the failure to it
Tasks that are genuinely homeowner-safe:
- Lubricating hinges, rollers, tracks, and the opener chain or belt with the correct product
- Replacing remote batteries, keypad batteries, and opener light bulbs
- Cleaning tracks with a dry cloth and mild soap
- Replacing the bottom weather seal when the replacement matches the door’s seal type
- Snugging loose bracket screws and hinge bolts
- Testing the safety reverse and realigning photo-eye sensors
If your door is a Clopay, Amarr, Wayne Dalton, or Craftsman, check the warranty card before doing anything structural. If you’re not certain which tasks are covered, ask us before you start. Our Garage Door Repair St. Louis Hills team works on all four, and we’re factory-familiar with these doors, openers, and their warranty expectations.
Common Mistakes to Avoid
- Lubricating everything with WD-40. It’s a solvent, not a lubricant, and it strips the factory grease from hinges and rollers. It’s the single most common reason a door gets louder after a maintenance pass.
- Greasing the tracks. Grease traps grit in the tracks and grinds the rollers down faster. Use silicone spray only, and only when a roller is dragging.
- Running the balance test with the opener connected. You’re testing the spring, not the motor. An engaged opener masks the result and can damage the carriage.
- Ignoring a slow drop on the balance test. “It just drops slowly” is often the first sign of a weakening spring. In St. Louis Hills freeze-thaw, that slow drop can become a failure within a season.
- Forcing a stuck door through ice. Ice on the seal at the bottom of the door is common in a St. Louis Hills winter. Forcing the door up tears the rubber and can strain the opener. Break the seal free with warm water first.
- Skipping the pre-winter seal check. Seal replacement in October is an hour of work. Seal replacement in January, with a snapped opener after a torn seal froze in place, is a technician call.
- DIY-ing anything with a spring. Springs and cables are the parts that seriously injure people. The rest of this checklist is yours. These two belong with a trained technician.
See the difference
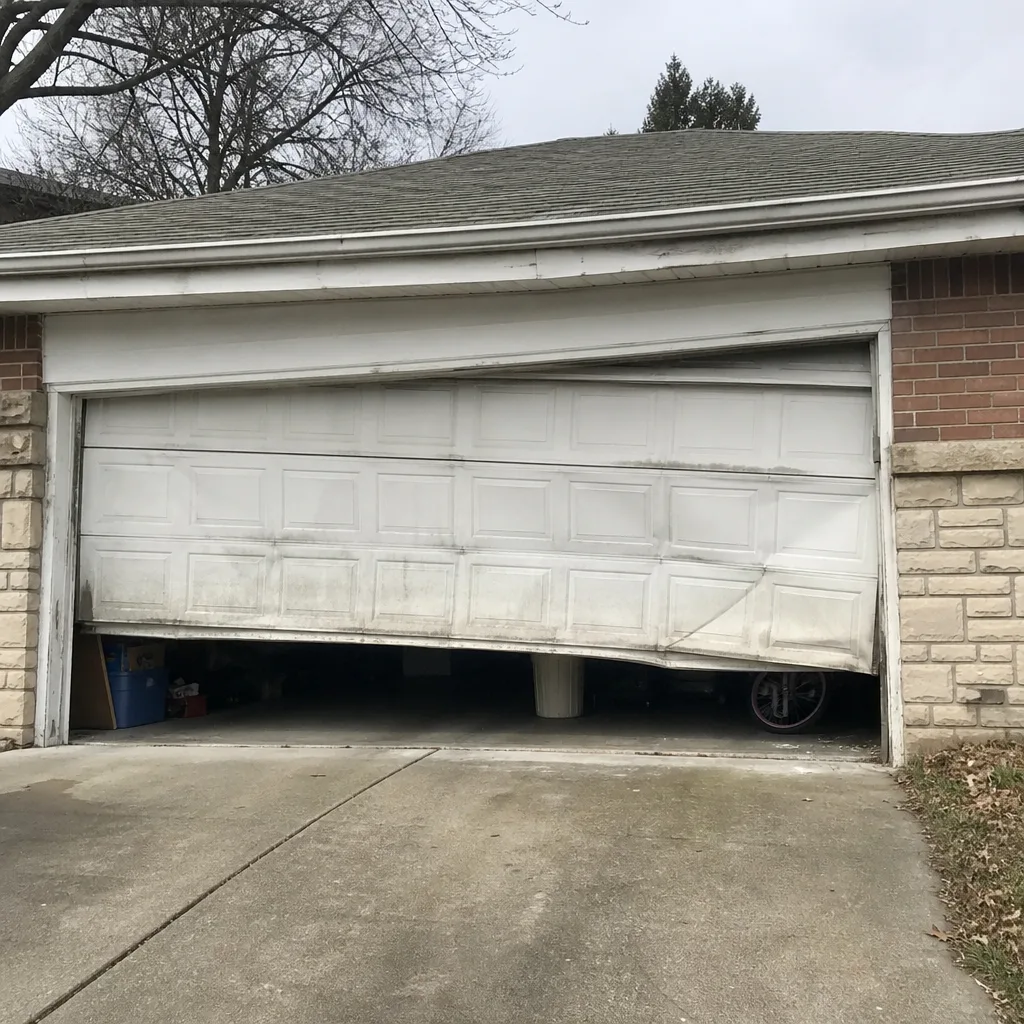 Before
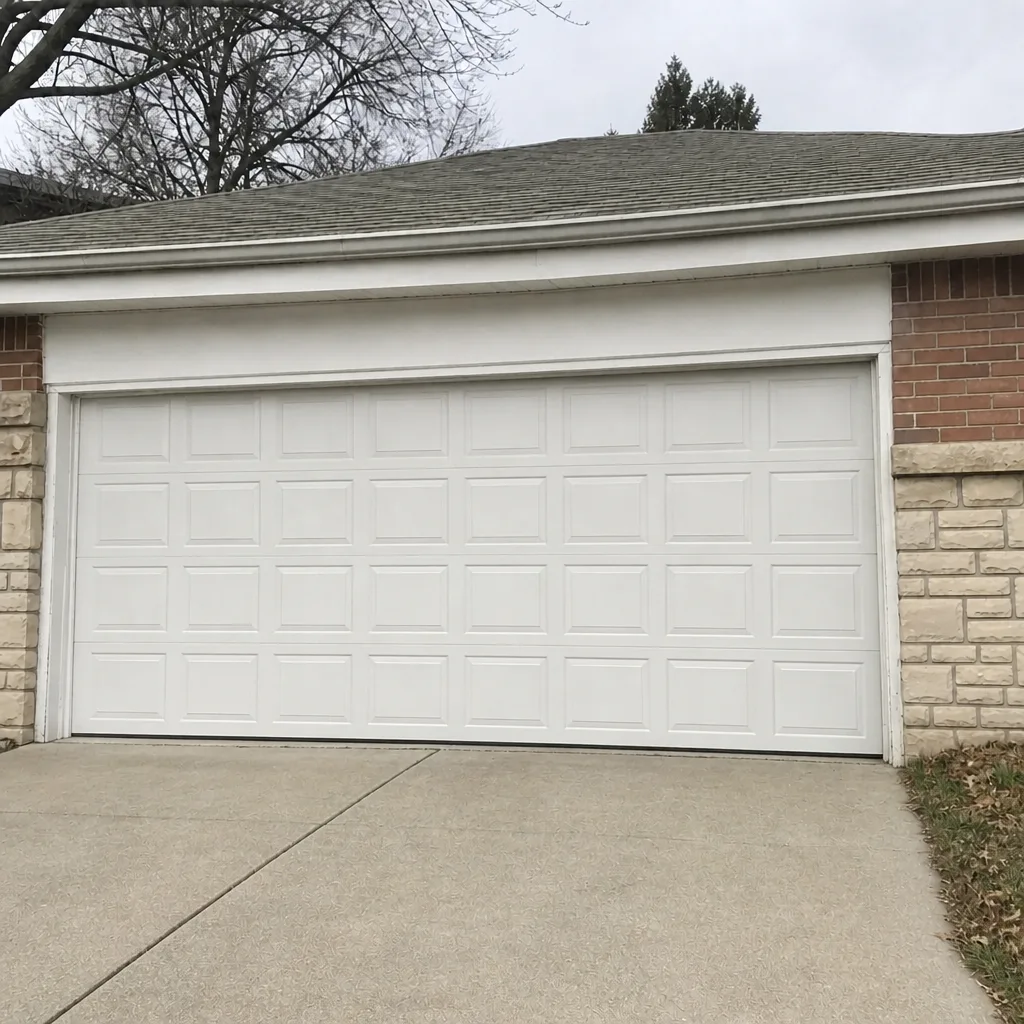 After
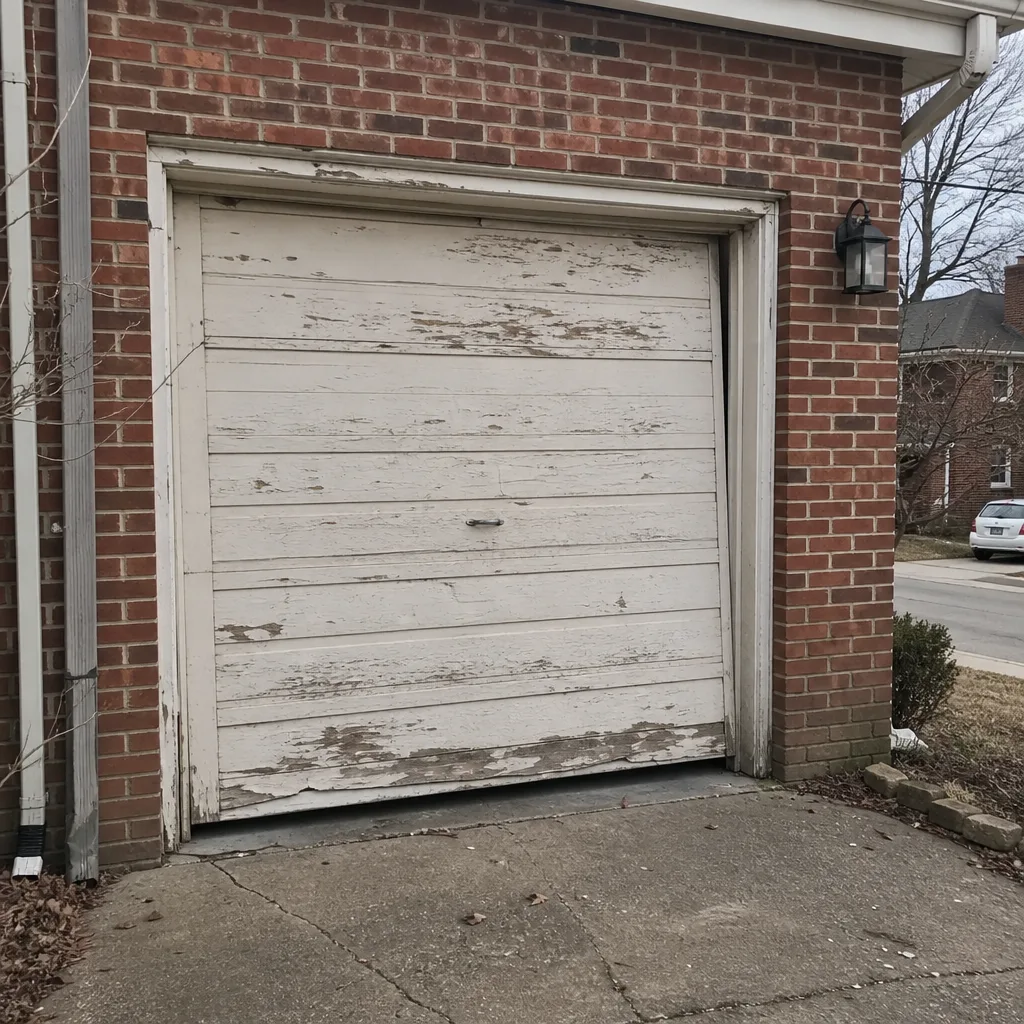 Before
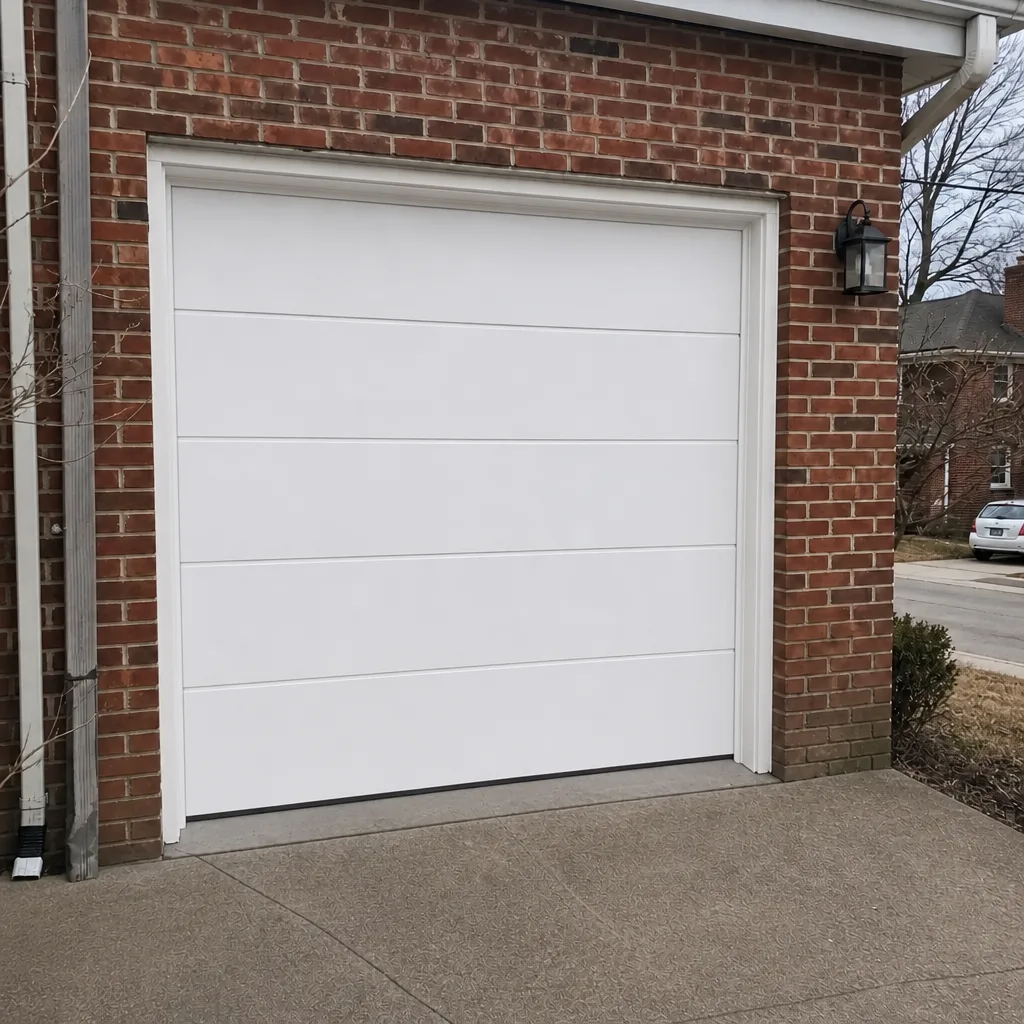 After
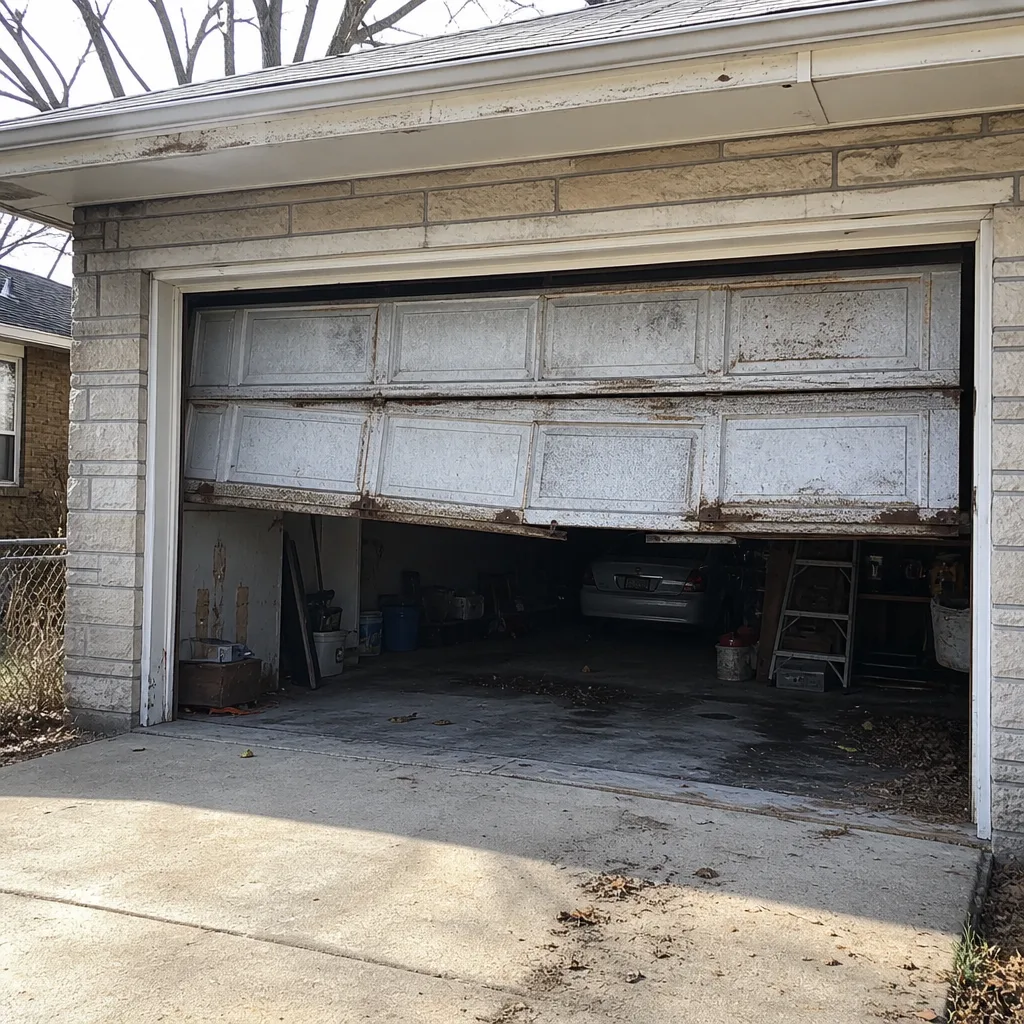 Before
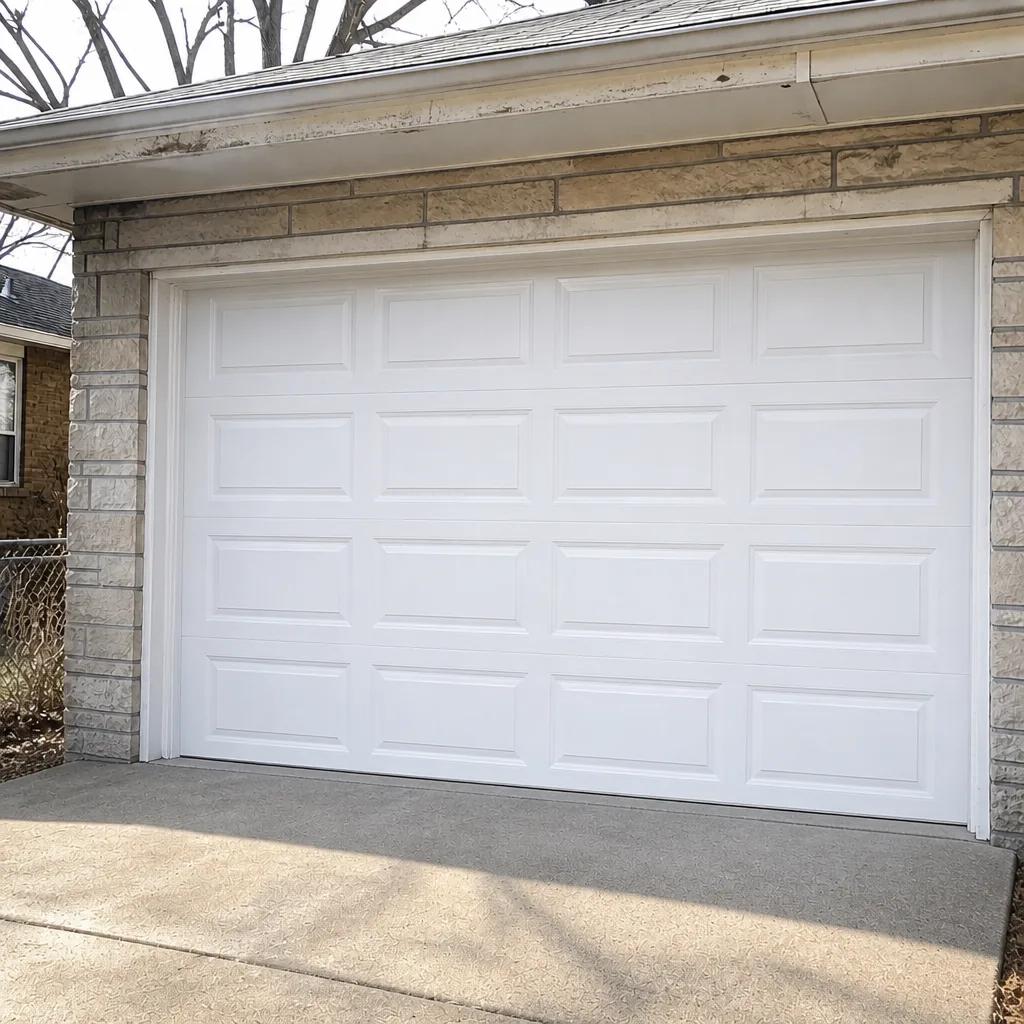 After
When to Call a Professional
Call a professional for anything involving springs, cables, or the torsion assembly. Stop operating the door and call immediately if you see a clean break in a torsion spring, a cable off the drum, or a door that drops fast during the balance test. Book a technician if a monthly check flips twice in the same year, if the door has gotten noticeably louder, or if the opener reverses without an obstruction. A door that isn’t level in the opening is also worth a call, since it usually points to a problem you can’t safely address yourself.
Our technicians have up to 13 years of experience on springs, openers, and installation, and we carry the parts for LiftMaster, Chamberlain, Genie, Clopay, Amarr, Wayne Dalton, Craftsman, and Raynor doors and openers, so same-visit repairs don’t stall waiting on orders. Garage Door Repair St. Louis Hills offers free estimates in St. Louis Hills. Call (833) 991-7150 to book one.
Frequently Asked Questions
Once a year for a professional inspection, with monthly self-checks in between. The monthly checks catch early wear; the annual visit covers springs, cables, and the opener drive. St. Louis Hills freeze-thaw winters make the pre-winter seal inspection especially important.
White lithium grease on hinges, metal rollers, and the opener chain or belt; silicone spray on weather seals, the torsion spring surface, and nylon rollers. Never use WD-40 as a lubricant, and never grease the door tracks.
Typical St. Louis Hills garage door repairs range widely depending on the part. Spring replacement is a dedicated service, opener repair covers the drive side, and panel or track repairs are quoted per job. Every estimate is quoted and agreed before any work begins, so the written price is the price. Call us for an exact quote.
Yes, and you should. Disconnect the opener, lift the door halfway, let go, and watch the rate of drop. Slow drop is fine; fast or crooked drop means a spring or cable issue. Never reach near a spring or cable while doing this test.
Not always. If the noise is new and the door still balances, it’s usually lubrication. If the noise started after a WD-40 pass, it’s usually stripped grease that needs proper lubrication. If the noise came on suddenly with the door, or a hinge is loose, book a diagnostic.
Homeowner-safe tasks like lubrication, seal replacement, and battery changes generally don’t void a warranty. Spring and cable work, aftermarket parts, and drilling into structural door sections can. Check the warranty card for your specific door, and ask before you start on anything structural.
The Bottom Line
The thing most St. Louis Hills homeowners get wrong isn’t skipping maintenance; it’s not knowing what a problem looks like before it’s a problem. Springs warn you. Seals warn you. A door dropping fast on the balance test is warning you. The checklist in this guide is the difference between catching those warnings and learning the hard way. Get the product right, get the quantity right, and leave springs and cables to a trained technician. Everything else is yours. Our garage door repair in St. Louis Hills is the service to call when something you’ve checked is out of your hands. Free estimates in St. Louis Hills. Call (833) 991-7150 for a free estimate.
Written by the team at Garage Door Repair St. Louis Hills.